Window Arrangements
The menu Window offers commands to easily create different useful standard layouts of the easymap program window. These standard layouts can also be called up with certain key combinations (e.g. Ctrl+F2; see menu Window).
Customizing the easymap program window
Experienced connoisseurs of .NET user interfaces will quickly discover other ways of dividing the easymap program window (e.g. unfolding and folding the different parts of the control and table window). These options can be useful, for example, if you have two monitors at your disposal and want to see the map in maximum size on one monitor while the tables are placed on the second monitor. Due to their variety and complexity, the extended arrangement options are not described in detail here.
If a control window has been closed, it can be opened again with the corresponding command in the Window menu. If a workbook contains a lot of sheets or a lot of tables are open, the corresponding commands in the Window menu allow you to bring a specific sheet or table to the foreground.
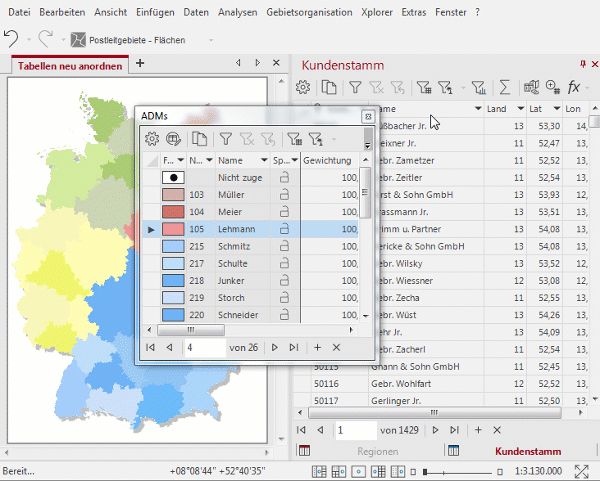
New arrangement of EasyMap windows
In an territory organization, it can be helpful to rearrange the existing tables so that you do not have to switch between the tables all the time.
You are also welcome to watch this process as a video.
The tables are on the right side of the screen. You can change the table by clicking on the corresponding tab (below).
To rearrange the tables, proceed as follows:
Click with linker mouse button on the tab of the table which should be rearranged (here in the example it is in the first step the table ADMs) and hold the mouse button. Drag the mouse lightly out of the table window.
Release the mouse button. The table is stored separately.

If you want to rearrange other tables, you can also remove them from the data window and store them separately.
Now the tables must be placed again. To do this, click again on the title bar of the table which you want to place in the middle (please hold the left mouse button during the process) and move the mouse to the table placed on the right again.
Drag the mouse until you cover part of the existing table with the table as shown in the graphic. If the lower part turns grey, place the table at the bottom. If the upper part turns grey, your table will be placed at the top after releasing the mouse.
Proceed with all required tables in the same form. Insert the Regions table as the last table under the other two. As a result, you have now arranged 3 tables in the table window one below the other.
Save user-defined window arrangement
easymap offers the possibility to place control windows and data windows freely on the screen. For example, it is possible to move single tables to a second screen or to distribute tables to several table windows, which allows to make several tables visible at the same time. Such user-defined window arrangements can be saved and reloaded with the commands under Window Arrangements in the menu Windows. This is especially useful when custom window layouts have been created with a lot of effort and you occasionally want to switch between the custom window layout and standard layouts. Please note that when saving custom window layouts, the other properties of the table views (e.g. filters, sorts visible and hidden columns) are also saved and can be restored accordingly.
